Installing a weather strip on an old wooden door is a practical task that can significantly enhance energy efficiency. According to a report by the Department of Energy, up to 30% of a home's heating and cooling energy can be lost through gaps in doors and windows. This highlights the importance of proper installation techniques, especially for older wooden doors that often develop wear and tear over time.
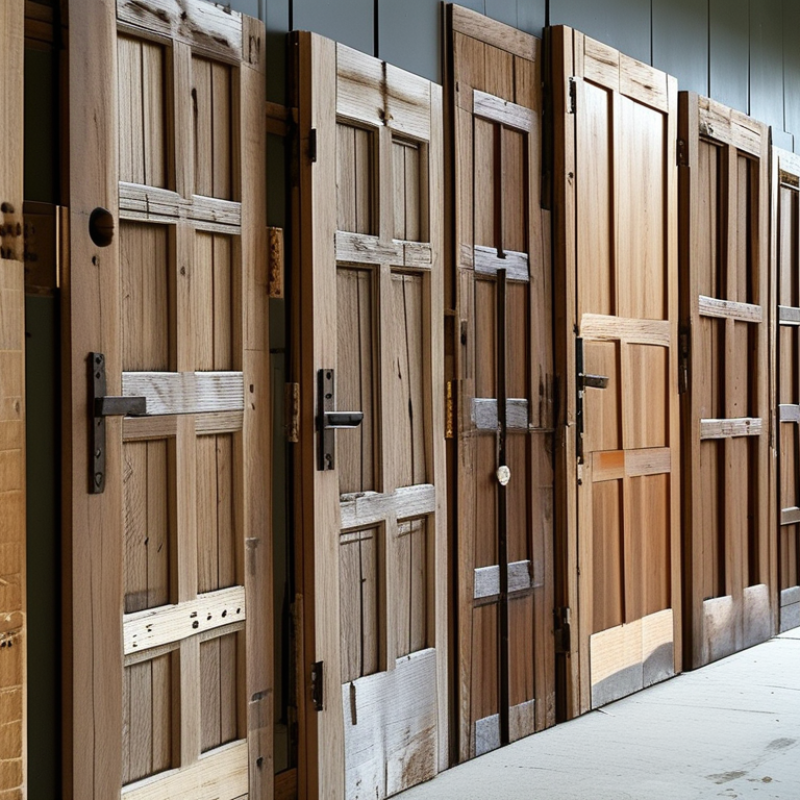
Knowing how to install a weather strip on an old wooden door requires both skill and the right materials. Professionals recommend using high-quality weather stripping, as inferior products may not last long. Each door is unique, and some may need more attention than others. This task can seem simple, yet many homeowners overlook essential steps, leading to ineffective sealing. It's crucial to choose the right type of weather strip based on the door's condition and environment.
Reflecting on the installation process, it's common to make mistakes. Failing to align the weather strip correctly can lead to drafts or increased energy costs. Taking the time to measure accurately, cut precisely, and install thoughtfully can enhance longevity. Embracing these best practices not only boosts comfort but also promotes sustainable living through energy savings.
Weather strips play a vital role in sealing gaps on old wooden doors. Understanding the right types and materials can greatly improve insulation. Weather strips are often made of rubber, foam, or vinyl. Each material has its pros and cons. Rubber can last longer but may be harder to install. Foam is easier to apply but may wear out faster.
When installing weather strips, careful measurement is crucial. Measure the door frame accurately for a snug fit. It’s important to make precise cuts to avoid gaps. Start with one side and work your way to the top.
Pay attention to installation tips. Ensure the surface is clean for proper adhesion. A strong bond will prevent drafts. For older doors, reinforce weak spots like hinges and frames. Installation can be frustrating, but taking your time yields the best results. Remember, it's more than just sealing; it's about improving comfort in your home.
Measuring your door's dimensions is crucial for a successful weather strip installation. Begin by taking the width and height of your door. Use a tape measure to ensure accuracy. Record these numbers as your reference. It's essential to measure at least twice. Small discrepancies can lead to poor fitting.
Consider the door’s thickness too. This detail determines the type and size of weather strip needed. A good fit minimizes drafts and improves energy efficiency. Don't rush this step. Mistakes might force you to redo the entire project, wasting time and materials.
Tips for measuring: Stand directly in front of the door to avoid angle errors. Keep the tape tight and straight. Look out for any irregularities in the door frame, as they can impact the fit of the weather strip. If your door is older, it may have settled or warped, affecting dimensions. This observation can guide your installation approach. Remember, precision here pays off in the long run.
Choosing the right adhesive and fasteners is crucial for installing a weather strip on old wooden doors. The seal needs to withstand time and environmental conditions. Using high-quality, weather-resistant adhesive ensures a strong bond. Many options exist, such as polyurethane or silicone-based adhesives. They provide durability and flexibility, allowing the strip to expand and contract with temperature changes.
Fasteners are equally important. Select screws or brads that won't rust. Stainless steel or galvanized options are reliable choices. Ensure they are the correct length to anchor the weather strip firmly without damaging the wood. Pay attention to the placement. Misaligned fasteners will lead to gaps, reducing the seal's effectiveness.
Remember, not all wood surfaces are perfect. Old doors may have warps or edges that aren't straight. This can complicate installation. It’s wise to sand down rough spots before applying adhesive. Sometimes, trial and error is necessary. Testing different adhesives on a small section can help find the best fit. Mistakes happen, and it's okay to test various options for the best results. Adjustments may be required, especially if the initial seal doesn't hold up as expected.
Installing weather stripping on old wooden doors can greatly improve insulation and reduce drafts. To start, gather your materials. A tape measure, utility knife, and weather stripping material are essential. Consider different types of weather stripping, as each has unique benefits. You may also need to check for any damages on the door before beginning.
Next, prepare the door frame by cleaning the surface. Remove any old weather stripping, if present. Measure the door's height and width to ensure proper fit. Cut the weather stripping to size, making sure to leave a little extra for adjustments. It's crucial to follow manufacturer instructions closely. Position the stripping in the door frame. Press firmly to ensure a secure attachment. Make sure the door closes properly afterward. This part often requires refinement and adjustments; it’s common for first attempts to be a little off.
Pay attention to any gaps that might still let air in. Small adjustments can make a big difference in effectiveness. Sometimes, doors may need new hinges or alignments for a better seal. Don’t hesitate to revisit your work. This process can be a bit trial and error, especially with older doors. Embrace the learning curve. Each installation can teach you something new.
Maintaining the longevity of weather strips on wooden doors is essential for energy efficiency. According to a 2022 report by the U.S. Department of Energy, proper sealing can reduce heating and cooling costs by up to 20%. Regular checks and maintenance ensure that weather strips remain effective over time.
When installing weather strips, consider the type of wood and any existing paint or finish. Improper prep work can lead to issues down the line. Use high-quality adhesive and ensure the surface is clean and free of dust. This simple step can prolong the strips' lifespan.
Check the strips regularly for wear and tear. A visual inspection every six months should suffice. Replace any that show signs of aging or damage. In areas with heavy foot traffic, pay extra attention. Seasonal changes can also affect the performance. Adjustments might be necessary after winter or summer months.
| Tip Number | Tip Description | Expected Benefit | Estimated Cost |
|---|---|---|---|
| 1 | Clean the door frame thoroughly before installation | Ensures better adhesion of the weather strip | $5 |
| 2 | Choose the right type of weather strip | Improves insulation and energy efficiency | $10 - $30 |
| 3 | Measure the door and frame accurately | Ensures proper fit of the weather strip | Free |
| 4 | Select a high-quality adhesive for the installation | Increases durability and longevity | $8 |
| 5 | Cut the weather strip to the required length | Ensures a snug fit around the entire door | Free |
| 6 | Install the weather strip in warm, dry conditions | Enhances adhesive performance | Free |
| 7 | Allow adequate time for the adhesive to cure | Ensures the weather strip stays in place | Free |
| 8 | Seal any gaps with caulk if necessary | Improves energy efficiency further | $5 |
| 9 | Test the door for drafts after installation | Confirms effectiveness of weather strip | Free |
| 10 | Regularly inspect and maintain the weather strip | Prolongs the life of the installation | Free |
: Accurate measurements ensure a proper fit for the weather strip, minimizing drafts and improving energy efficiency.
Use a tape measure to check the width, height, and thickness. Measure multiple times for accuracy.
High-quality, weather-resistant adhesives like polyurethane or silicone ensure durability and flexibility in varying temperatures.
Yes, using rust-resistant fasteners is crucial to prevent gaps and ensure a lasting seal.
Sand down rough spots before applying adhesive to help create a better fit for the weather strip.
Press firmly when applying the weather strip and adjust as needed for a tight seal against drafts.
It’s okay to test different adhesives and make adjustments to find the best solution for your door.
Yes, they may have warps or misaligned edges, which can affect the fit of the weather strip.
Revisit your work to fix gaps and ensure the door closes properly; small adjustments can significantly improve performance.
Many face challenges with alignment. Expect trial and error; learning from mistakes is part of the process.
This article provides essential guidance on **how to install a weather strip on an old wooden door**, ensuring a secure fit that helps improve energy efficiency. It begins by discussing the different types and materials of weather strips suited for wooden doors, followed by detailed instructions on measuring your door dimensions for precise installation.
Moreover, the article emphasizes the importance of selecting the right adhesive and fasteners to guarantee a long-lasting seal. A step-by-step guide is included, outlining the installation process in simple terms. Lastly, it offers maintenance tips to help users extend the lifespan of their weather strips, ensuring continued protection against drafts and moisture over time.
Weston Door