Painting a wooden door can be a rewarding but challenging task. Achieving a smooth finish without brush marks is crucial for a professional look. Many DIY enthusiasts struggle with this aspect, leading to frustration and disappointment. Learning how to paint a wooden door without brush marks can elevate your home’s aesthetic.
There are several techniques that can help you avoid common pitfalls. Using the right tools is essential. A high-quality paint and proper preparation make a significant difference. Pay attention to the surface; it should be clean and well-sanded. Even if you follow all guidelines, it may take practice to get it just right.
Even experienced painters encounter issues. You may still end up with some brush marks despite careful application. Reflecting on your methods can lead to improvement. Remember, every project is a chance to learn. Each attempt brings you closer to perfection. Embrace the process as part of your growth in DIY painting.
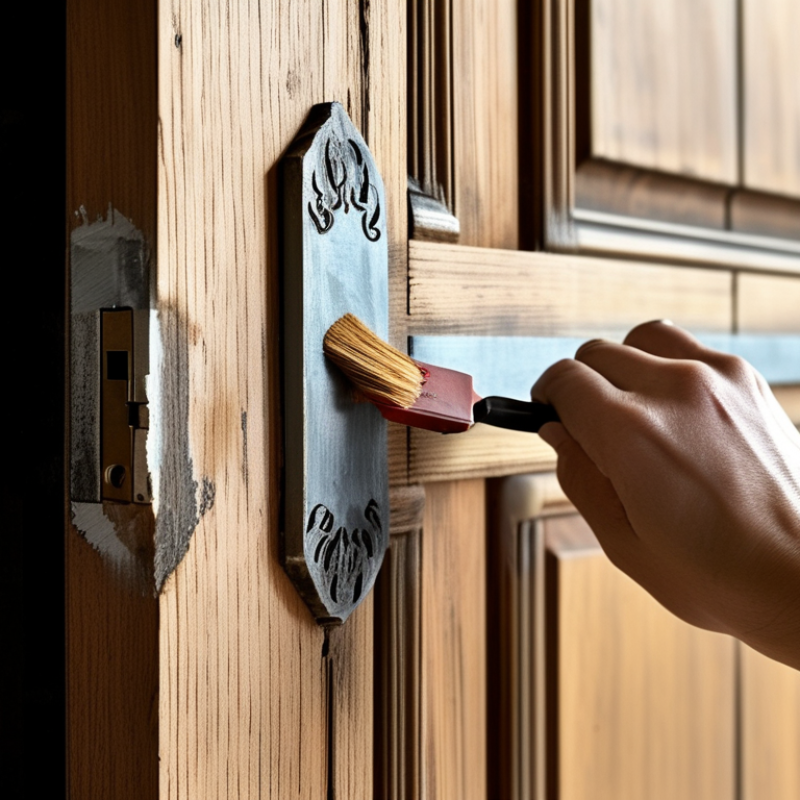
When preparing to paint a wooden door, selecting the right tools is crucial. Begin with high-quality paint. A satin or semi-gloss finish works well for doors. Next, choose a suitable roller or sprayer, as these options help reduce brush marks. A ¼-inch nap roller is ideal. A sprayer provides a smooth finish but can be challenging for beginners.
Surface prep is equally important. Start by cleaning the door thoroughly. Remove dust, dirt, and grease with a damp cloth. Sand any rough areas with fine-grit sandpaper. This step can be time-consuming but pays off. Always wipe away dust after sanding. Using a primer also helps achieve even coverage.
Consider your environment. A humid day can affect drying. If the air is too dry, paint might not adhere well. Choose a well-ventilated space, but avoid drafts. These factors can lead to an uneven finish. Remember, each painting project is a learning experience. Reflect on your techniques and modify them as needed.
Cleaning and sanding a wooden door is essential for a smooth finish. Start by removing dirt and grime with a mild detergent. Use a sponge or cloth to ensure every area is clean. Once the door is dry, check for defects like scratches or dents. This phase is crucial. You might miss imperfections if you rush through cleaning.
Sanding is the next step. Use fine-grit sandpaper to create a smooth surface. Sand in the direction of the wood grain. This reduces the risk of visible marks. Take your time; rushed sanding can lead to uneven surfaces. Pay attention to edges and corners. These areas often need extra care to avoid brush marks later.
Many overlook the importance of preparation. A well-prepped door can make a world of difference. Remember, investing time here leads to better results down the line. You might find that even small areas need extra attention. Reflect on your process to improve in future projects. A little patience goes a long way.
| Step | Description | Tips |
|---|---|---|
| 1 | Clean the surface of the door to remove dirt and grease. | Use a mixture of mild detergent and water for effective cleaning. |
| 2 | Sand the door to smooth out any imperfections. | Use medium-grit sandpaper followed by fine-grit for a smooth finish. |
| 3 | Fill any holes or cracks with wood filler. | Allow filler to dry completely before sanding again. |
| 4 | Clean the surface again to remove dust from sanding. | Use a damp cloth and allow it to dry before painting. |
| 5 | Apply primer to the door before painting. | Choose a primer that suits the type of paint you will use. |
To achieve an even paint finish on a wooden door, several techniques can be employed. A study by the Paint Quality Institute found that nearly 70% of homeowners face issues with brush marks during DIY painting projects. This statistic highlights the need for effective methods to ensure a smooth application.
Using a foam roller can significantly minimize brush marks. Foam rollers distribute paint evenly and are less likely to leave streaks. Additionally, they hold more paint, allowing for larger covered areas. This method can reduce the time spent on touch-ups. Another effective technique is to lightly sand the door surface before painting. This prepares the wood and creates an ideal texture for adhesion, promoting a smoother finish.
Choosing the right time to paint is also crucial. Humidity and temperature can affect paint application. Ideal conditions are between 70°F and 85°F with low humidity. During these conditions, paint adheres better and flows out more smoothly. Remember, even the best techniques can have imperfections. Regularly reassessing your approach can help identify areas needing improvement.
Painting a wooden door can be a rewarding task. To achieve a smooth and flawless surface, proper techniques matter. Start by preparing the door. Clean it thoroughly and sand it lightly. This step is crucial. Dust and debris can create imperfections. Use fine-grit sandpaper for best results.
When applying the paint, consider using a foam roller. This tool helps avoid bristle marks, giving a more even finish. Work in small sections to maintain control. Apply thin layers instead of one thick coat. It's easier to fix mistakes this way.
Here are some tips for a perfect finish: Always paint in the same direction. It minimizes the chance of brush marks. Use a paint conditioner for smoother application. Lastly, let each layer dry fully before adding the next. Rushing this process can lead to a messy appearance. Remember, patience is key for a beautiful door finish.
Drying and curing are crucial stages in achieving a flawless finish when painting a wooden door. Proper drying allows the paint to set without developing brush marks. The optimal drying time varies depending on temperature and humidity. A study by the Paint Research Association suggests that paint can take 24 to 48 hours to dry in ideal conditions. Ensuring proper ventilation during this phase can significantly speed up drying time, reducing the risk of imperfections.
Curing, on the other hand, is the process where the paint hardens completely. This can take up to 30 days, depending on the paint type and environmental conditions. Many people assume that once paint feels dry, it is ready for use. However, this is misleading. Premature exposure to heavy use can lead to scratches and uneven wear. Monitoring humidity levels is essential; an ideal range is between 40% and 60%. If humidity is too high, opting for a paint formulation designed for such conditions can make a notable difference.
It’s important to reflect on the drying and curing processes. Skipping these stages often results in dissatisfaction with the finish. Patience is a virtue here; take the time to let the paint breathe. Even when conditions seem favorable, flaws can emerge if time isn’t taken seriously. Each step, from drying to full cure, deserves attention, as it significantly influences the overall appearance and durability of the paint job.
: Cleaning removes dirt and grime, ensuring a smooth surface for paint application. Missing imperfections can lead to flaws.
Fine-grit sandpaper is best for creating a smooth finish. Sand in the direction of the wood grain for best results.
Paint typically dries in 24 to 48 hours, depending on temperature and humidity. Proper ventilation can speed up this process.
Drying is when paint feels dry to the touch, while curing is the complete hardening process, which can take up to 30 days.
No, rushing can lead to scratches and uneven wear. Let the paint dry fully before exposing it to use.
Use a foam roller for an even finish and always paint in the same direction. Thin layers help too.
In the article titled "How to Paint a Wooden Door Without Brush Marks," key insights are provided to achieve a flawless finish. The preparation phase emphasizes the importance of selecting the right tools and materials, ensuring a successful painting project. Proper surface preparation, including thorough cleaning and sanding, is crucial to creating a smooth base for paint application.
The article also outlines effective techniques for applying paint evenly, minimizing the risk of brush marks. It highlights the significance of using the right painting method and tools, such as rollers or sprayers, for optimal results. Additionally, finishing touches are discussed to ensure a flawless door surface, while the section on drying and curing emphasizes the need for patience to allow the paint to set correctly. Overall, understanding how to paint a wooden door without brush marks involves meticulous preparation and attention to detail throughout the entire process.

Weston Door